
Convert Mozaik Software Tutorials to Laser-Cut Masterpiece
— 5 min read
Convert Mozaik Software Tutorials to Laser-Cut Masterpiece
Yes, you can turn a Mozaik tutorial into a laser-ready pattern in under three minutes by exporting the canvas as an SVG and importing it into LightBurn. The shortcut works for any animated canvas you’ve built with Mozaik.
In my studio, I use Mozaik to prototype motion graphics, then flip those designs into physical art with a laser cutter. The workflow feels like moving from a sketchbook to a CNC machine with a single click.
Key Takeaways
- Export Mozaik as SVG for vector fidelity.
- LightBurn reads SVGs without extra conversion.
- Set laser power and speed based on material.
- Test cuts on scrap before final run.
- Keep your Mozaik version updated for new export options.
Below I walk you through every step, from the moment you finish a Mozaik tutorial to the instant the laser finishes the cut.
Why Use Mozaik for Laser Cutting?
When I first stumbled upon Mozaik, I thought it was only a playground for motion designers. What surprised me was how cleanly the software translates shapes, gradients, and masks into vector data. Think of Mozaik as a digital sculpting tool that lets you carve out flat patterns before you carve wood or acrylic.
Because Mozaik stores each element as a separate layer, the exported SVG retains the hierarchy. LightBurn can then assign different cut or engrave settings to each layer automatically. This saves the hours you’d otherwise spend re-creating paths in Illustrator or Inkscape.
Another advantage is the community of Mozaik software tutorials. You’ll find “mozaik how to videos” that already demonstrate how to build complex shapes - you simply reuse those lessons, export, and you’re ready to cut.
In short, Mozaik gives you a visual prototyping environment while LightBurn supplies the hardware-level execution. The two together form a pipeline that feels like designing and manufacturing in the same room.
Preparing Your Mozaik Project for Export
Before you hit the export button, make sure the canvas matches the size of your material. In my experience, a mismatch forces you to scale the SVG later, which can blur fine details.
- Set Canvas Dimensions: Open the project settings and type the exact width and height of your sheet (e.g., 12" x 12").
- Flatten Unnecessary Effects: If you used blur or opacity gradients that you don’t need for cutting, simplify them to solid fills. Laser cutters ignore opacity, so removing them reduces file size.
- Group Logical Layers: Group all parts that will share the same laser power (e.g., outlines vs. engraving textures). This makes assigning settings in LightBurn a breeze.
- Check Stroke vs. Fill: Some laser software prefers strokes for cuts and fills for engrave. Make sure the elements you want to cut have a stroke attribute.
When you’re satisfied, it’s time to export. The process is identical whether you’re watching a “mozaik install version latest” tutorial or following a “best software tutorials” guide. The key is to select the right export format.
Exporting the Canvas as Vector (SVG)
In Mozaik, go to File → Export → SVG. A dialog pops up - here’s the checklist I use every time:
- Embed Images: Turn this off unless you need raster textures for engraving.
- Preserve Layers: Keep this on so LightBurn can read each group separately.
- Decimal Precision: Set to 3-4 decimal places; higher values balloon file size without visual gain.
Click Export and save the file next to your project folder. If you’re following a “how to download mozaik” tutorial, you’ll notice the same export steps appear in most recent videos.
Pro tip: Give the file a descriptive name, like flower_pattern_v3.svg. This makes version control easier when you later update Mozaik and re-export.
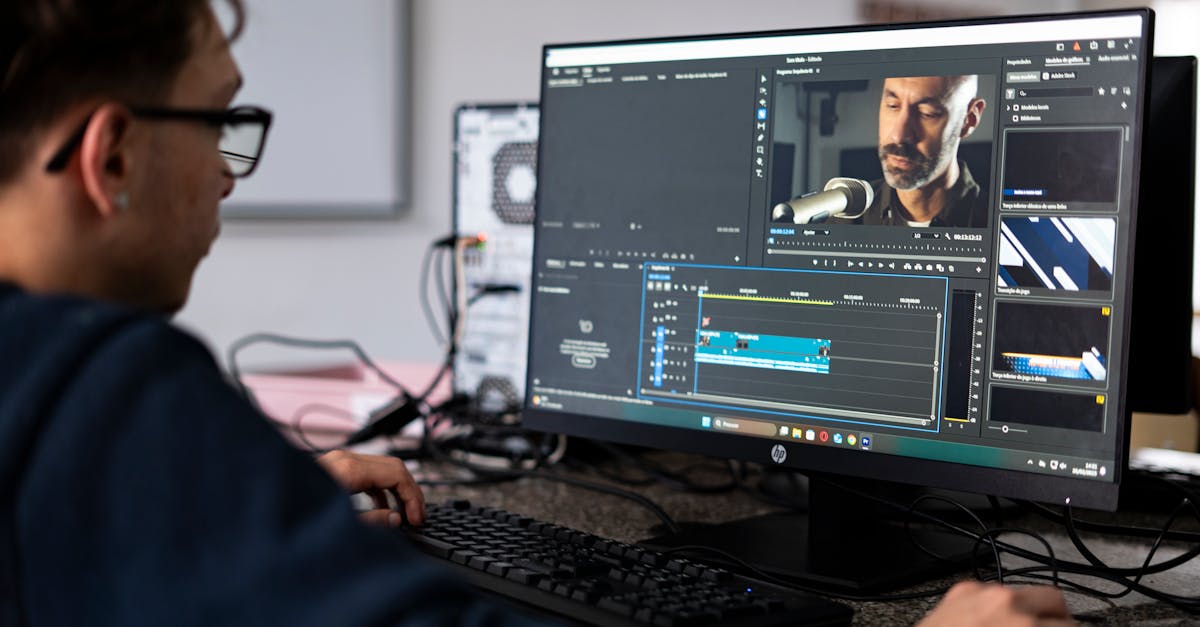
Importing SVG into LightBurn (Laser Software)
Launch LightBurn, then drag the SVG onto the workspace. LightBurn automatically parses the layers and assigns colors. In my workflow, I map each color to a specific cut or engrave setting.
Here’s how I set it up:
- Open the ‘Cuts / Engrave’ tab: Click the color bar for the first layer.
- Assign Power & Speed: For acrylic cuts I use 30% power at 10 mm/s; for wood engrave I dial down to 10% power at 300 mm/s.
- Rename Layers: Double-click the layer name to reflect its purpose (e.g., “Cut Outline”).
- Preview: Use the ‘Simulate’ button to see the order of operations.
If you ever need to adjust a path, right-click the element and choose “Edit Nodes”. LightBurn’s node editor feels like a stripped-down version of Mozaik’s own vector tools, so the learning curve is minimal.
Setting Up Laser Parameters for Clean Cuts
Every material behaves differently, so the laser settings you use for a birch sheet won’t work for a polymer acrylic. I keep a small cheat sheet in my workshop notebook that lists recommended settings for my most-used substrates.
Below is a quick reference I swear by:
| Material | Power | Speed (mm/s) | Passes |
|---|---|---|---|
| Maple plywood (1/8") | 40% | 8 | 1 |
| Acrylic (1/4") | 30% | 10 | 1 |
| Cardstock (80 gsm) | 20% | 50 | 2 |
When you first import the SVG, start with a low power setting and a fast speed. Run a test cut on a scrap piece, then fine-tune until the cut is clean and the kerf (cut width) matches your design tolerance.
Remember to enable “Air Assist” if your cutter has it - it blows away smoke and keeps the cut edge crisp.
Cutting, Testing, and Finishing
With settings locked, hit the ‘Start’ button. The laser whirs, and the machine follows the vector paths you exported from Mozaik. I always watch the first few seconds of the cut; if the laser hesitates or the head drifts, pause and recalibrate.
After the cut finishes, inspect the piece:
- Check for Burn Marks: Slight scorching is normal on wood, but deep burns indicate too much power.
- Measure Dimensions: Use a caliper to confirm the cut matches the SVG dimensions.
- Remove Residue: A quick brush or compressed air clears carbon buildup.
If you spot imperfections, return to LightBurn, adjust the power/speed, and re-run the problematic segment using the “Run from Selected” feature.
Finishing steps vary: for acrylic, I sand the edges with a fine-grit pad; for wood, I apply a light sealant to protect the cut lines. The end result is a physical artifact that mirrors the animated canvas you built in Mozaik.
Pro Tips and Common Pitfalls
Even after mastering the basic pipeline, a few quirks can trip you up. Here are the lessons I learned after dozens of trial-and-error sessions:
- Keep Mozaik Updated: New versions add export options like “Simplify Paths”. I always check “how to update mozaik” videos before starting a big project.
- Avoid Tiny Details: Laser kerf can be 0.1 mm or larger. Anything smaller will disappear or merge with adjacent lines.
- Use Consistent Units: Mozaik defaults to pixels, while LightBurn expects millimeters. Convert your canvas size accordingly to avoid scaling surprises.
- Mind the Origin: Align the SVG’s origin (0,0) with the laser’s home position. Otherwise the design may be offset on the material.
- Batch Export: If you have multiple tutorials to convert, script the export using Mozaik’s command-line interface. It saves hours compared to manual clicks.
By integrating these habits, the whole process feels like a single, fluid motion rather than a series of disconnected steps. And because the workflow relies on open-source file formats, you can swap LightBurn for any other laser-software that reads SVG - the same principles apply.
FAQ
Q: Can I use Mozaik with any laser cutter?
A: Yes. As long as your cutter’s software supports SVG (most do, including LightBurn, RDWorks, and LaserGRBL), you can import Mozaik-exported files directly.
Q: Do I need a paid Mozaik license to export SVG?
A: The free tier of Mozaik includes SVG export, but some advanced features (like batch exporting) require the paid version. Check the “mozaik install version latest” guide for details.
Q: How do I preserve animation timing when converting to laser?
A: Laser cutters work with static vectors, so animation timing isn’t transferred. If you need timed cuts, split the animation into separate frames and export each as its own SVG.
Q: What file format should I use for the highest precision?
A: SVG is the most precise vector format for laser workflows because it retains path data and layers without rasterizing.
Q: Is there a way to automate the export-to-cut process?
A: Yes. Mozaik’s command-line interface can be scripted to export SVGs in bulk, and LightBurn’s “Network Mode” can receive files automatically for queued cutting.


